
How to Fit Stainless Steel Motorcycle Bolts: Step-by-Step Guide
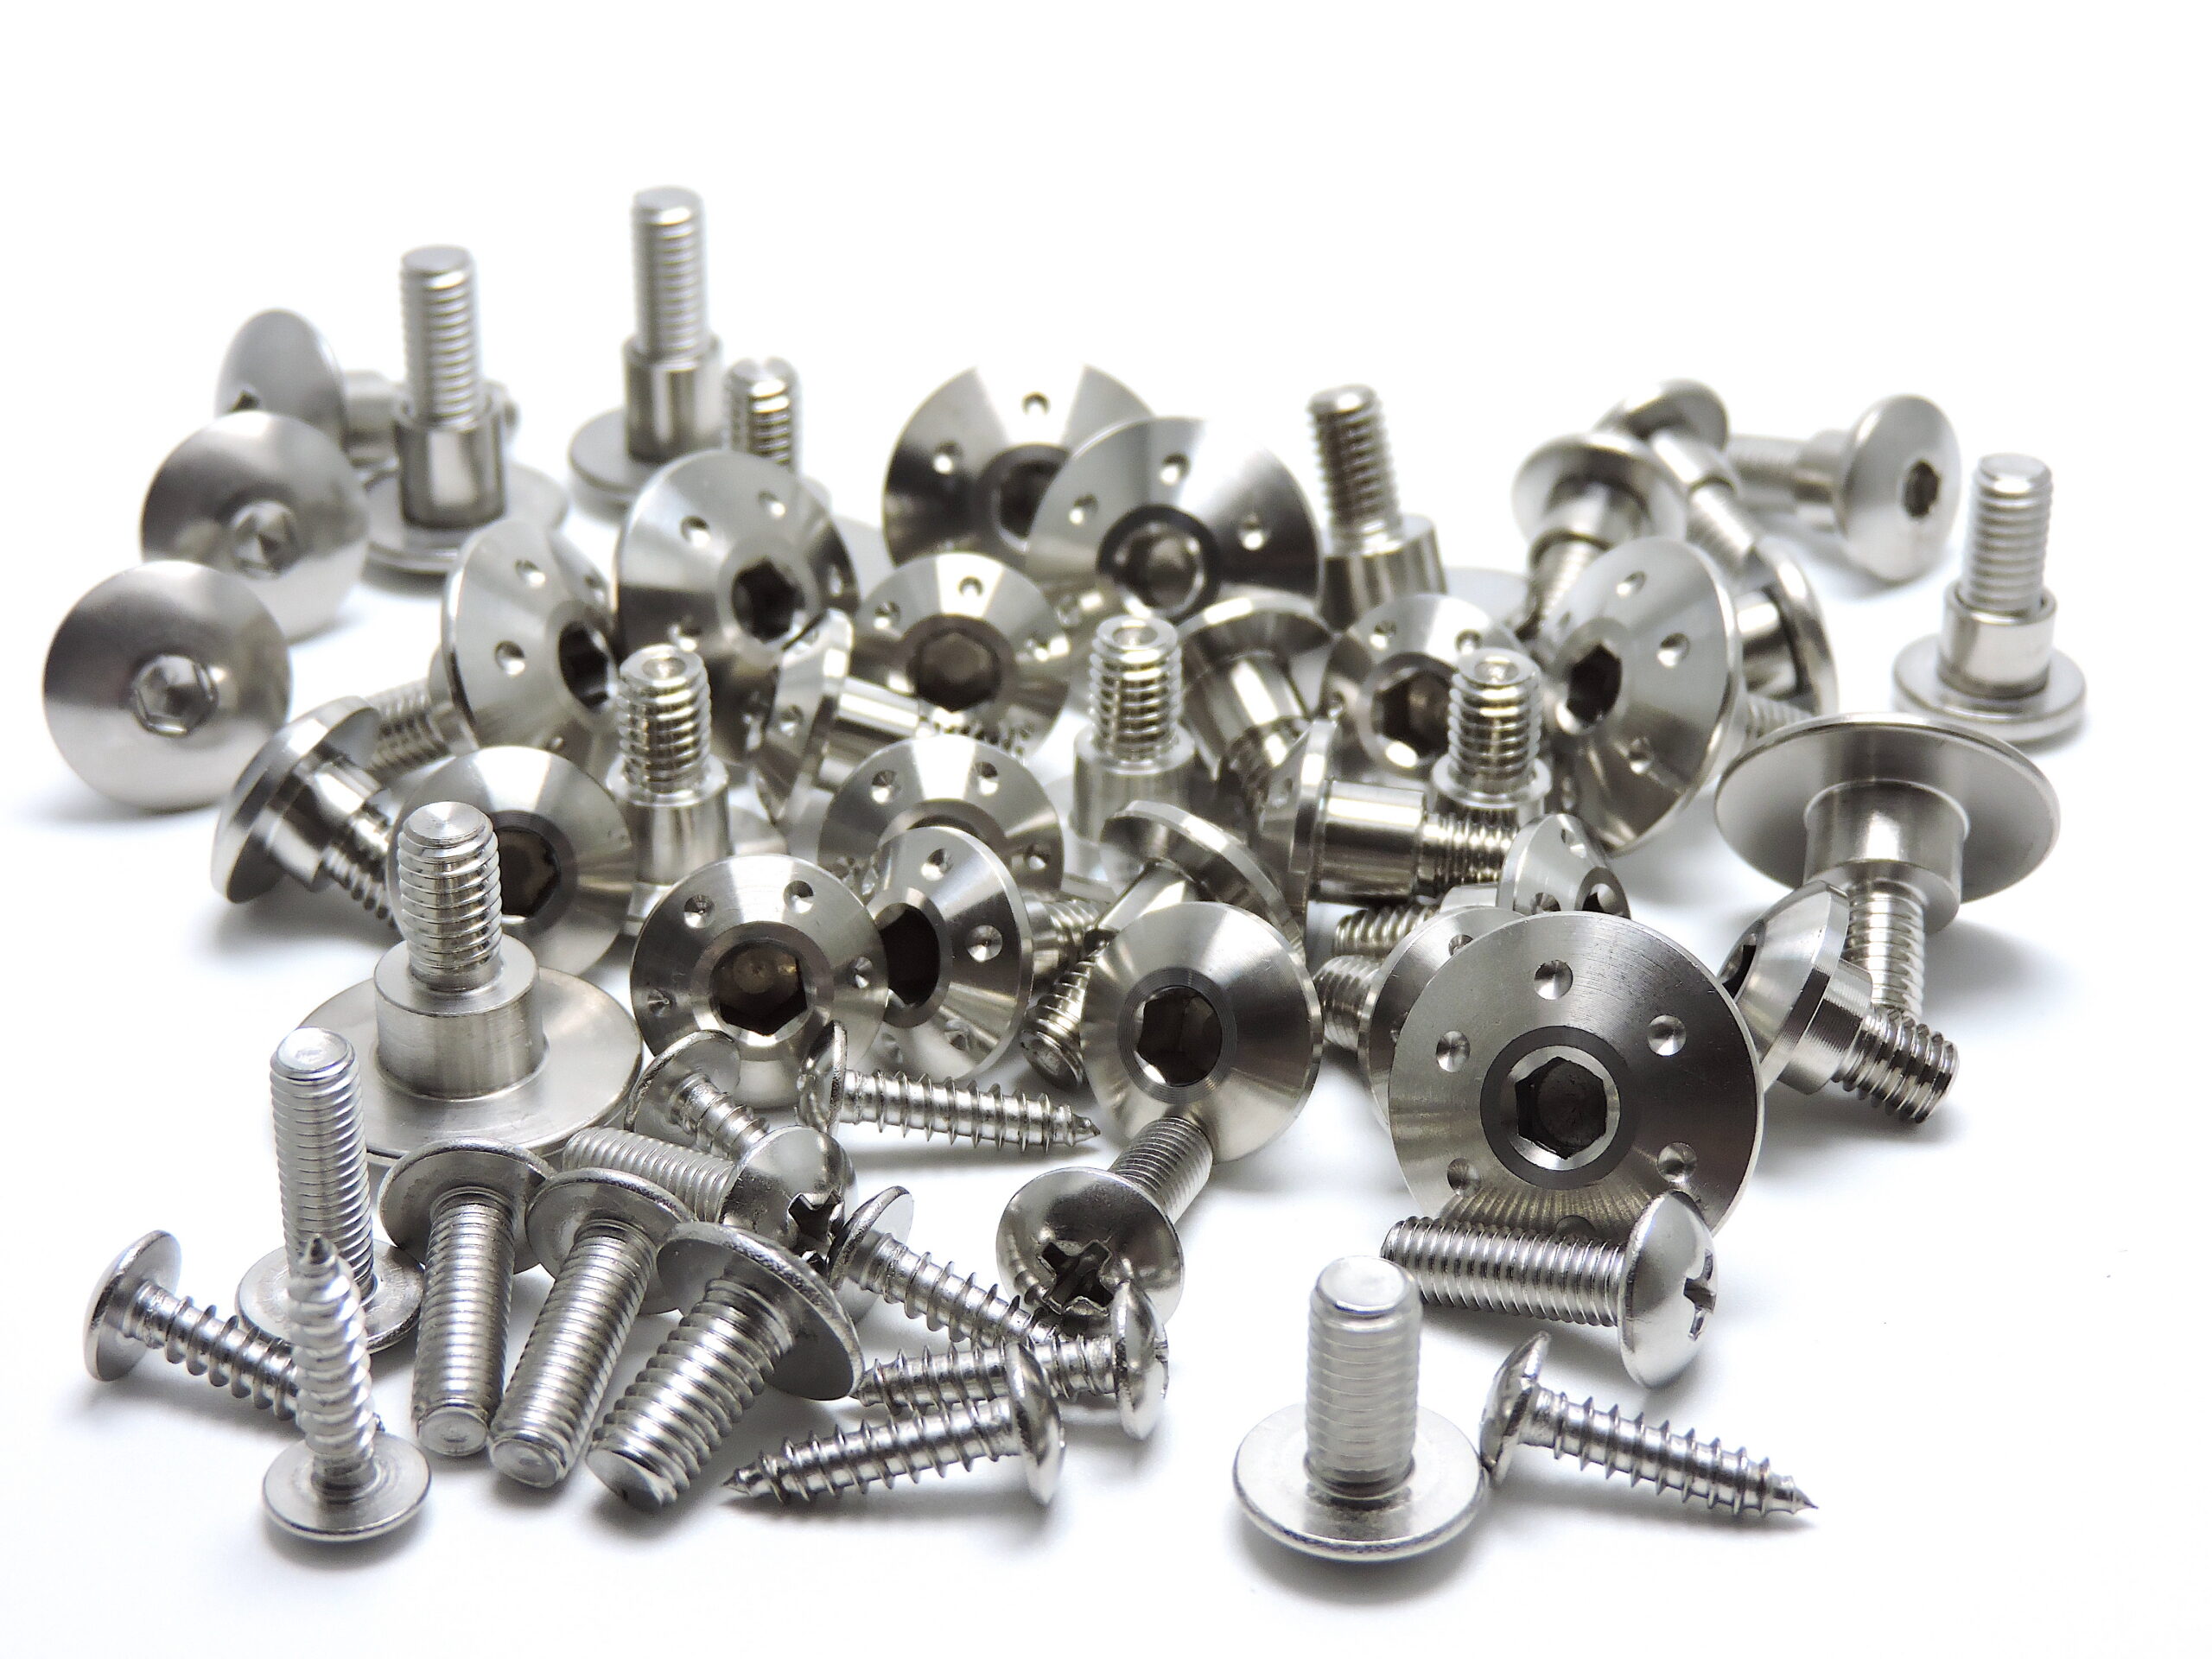
Knowing how to fit stainless steel motorcycle bolts correctly is important when replacing old, rusty or corroded fasteners. Correct installation can improve corrosion resistance while helping to protect the threads and surrounding motorcycle components.
Correct installation is important. Motorcycle fasteners can have different specifications, strength requirements and fitting procedures depending on where they are used.
This guide explains a sensible general approach to fitting 304 stainless steel motorcycle bolts, from checking the replacement fastener and preparing the threads to tightening and carrying out final checks.
Important Safety Notice
This guide provides general information only.
Always check the motorcycle manufacturer’s workshop manual and any component-specific instructions before removing or installing fasteners. Manufacturer instructions take priority over general information on this website.
Motorcycle fasteners may differ in material, strength, design and installation requirements even when they appear similar.
Particular care is required with braking, steering, wheels, suspension and other safety-critical components.
If you are uncertain whether a replacement fastener is suitable or how it should be installed, stop and seek advice from a suitably qualified motorcycle technician.
Before Fitting Stainless Steel Motorcycle Bolts
Before removing the original fastener, establish what the motorcycle manufacturer specifies for that particular fixing.
Where applicable, check:
- Fastener type
- Thread diameter and pitch
- Bolt length
- Strength or material requirements
- Washer, spacer or collar arrangement
- Tightening torque
- Tightening sequence
- Whether the threads should be dry or treated
- Whether threadlocker or another locking method is specified
- Whether the original fastener is intended for single use
Do not assume that a procedure or torque figure from another motorcycle or another bolt of the same diameter is suitable.
If the existing fastener is seized, badly corroded or damaged, see our guide to removing seized, stuck and rounded motorcycle bolts before continuing.
1. Check the Replacement Fastener
Before fitting the new bolt, compare it with the original fastener and the product information supplied with the replacement.
Check the relevant details, including:
- Thread diameter
- Thread pitch
- Bolt length
- Head style
- Shoulder dimensions where applicable
- Washers, spacers or other supplied hardware
- Intended mounting position
Do not install a replacement simply because it appears to screw into the thread.
Some original motorcycle fasteners use special shoulders, collars, captive washers, locking features or particular mechanical specifications for their application.
Where a manufacturer specifies a special-purpose or high-strength fastener, do not substitute it without first confirming that the replacement is suitable. If the existing fastener is seized, badly corroded or damaged, see our guide to removing seized, stuck
and rounded motorcycle bolts before continuing.
2. Inspect and Clean the Threads
Inspect the threaded hole, nut and surrounding area before installing the replacement fastener.
Look for:
- Dirt and debris
- Corrosion
- Old threadlocker
- Damaged threads
- Cross-threading
- Metal fragments
- Signs of previous repair
Clean the threads appropriately before installation.
A new bolt should not be used to force its way through damaged or contaminated threads.
Take particular care with threaded aluminium components such as engine casings, brackets, yokes and other motorcycle parts where damaged female threads may be difficult or expensive to repair.
3. Check Whether the Threads Should Be Dry or Treated
Do not automatically apply grease, anti-seize or threadlocker to every stainless steel fastener.
The correct condition depends on the particular application and the motorcycle manufacturer’s instructions.
A fastener may require:
- Dry threads
- A specified lubricant
- Anti-seize
- Threadlocker
- Another manufacturer-specified treatment
Lubricants and anti-seize compounds change friction within the threaded joint and can alter the relationship between tightening torque and the clamping force produced by the fastener.
For a fuller explanation, read our guide to stainless steel motorcycle bolt torque, anti-seize and thread galling.
Do not apply an assumed percentage reduction to a dry torque figure simply because a lubricant or anti-seize compound has been used.
Follow the motorcycle workshop manual together with the instructions supplied with any thread treatment being used.
4. How to Start Stainless Steel Motorcycle Bolts Correctly
Where access allows, begin threading the bolt by hand.
The fastener should engage smoothly.
If it becomes unexpectedly difficult to turn before reaching the clamping stage, stop rather than forcing it.
Check:
- Thread size
- Thread pitch
- Alignment
- Thread condition
- Contamination
- Whether the correct fastener is being fitted in that position
Forcing an incorrectly aligned bolt can result in cross-threading or damage to the threaded component.
Starting stainless steel fasteners carefully also helps reduce the risk of thread damage and galling.
5. Fit Washers, Spacers and Other Components Correctly
If the original assembly or replacement kit includes washers, collars, spacers, rubber well nuts or other hardware, make sure each component is fitted in its correct position.
Do not assume that every washer or spacer is interchangeable.
Some assemblies use spacers or shoulders to control component positioning or prevent softer materials from being compressed excessively.
Take particular care when fitting screens, fairings and other plastic motorcycle bodywork.
Excessive tightening can damage or crack plastic components.
6. Position Multiple Fasteners Before Final Tightening
Where several bolts secure the same component, it can be useful to start the fasteners correctly before final tightening, unless the motorcycle manufacturer specifies a different procedure.
Follow any stated tightening pattern or sequence.
Avoid using one fastener to pull a badly misaligned component into position.
If holes do not align normally, investigate the cause rather than forcing the assembly together.
7. Tightening Stainless Steel Motorcycle Bolts Correctly
Where the motorcycle manufacturer provides a torque specification, follow the specified procedure and thread condition.
Use an appropriate torque wrench where required.
Do not use a torque figure simply because it applies to another fastener of the same diameter.
Joint design, fastener specification, material, lubrication, thread condition and the component being secured can all affect the correct installation procedure.
For more information, see our stainless steel motorcycle bolt torque and anti-seize guide.
8. Stop if a Fastener Begins to Bind
A bolt that initially turns normally but then becomes unexpectedly difficult to turn should not simply be forced tighter.
Stop and investigate.
Possible causes can include:
- Damaged threads
- Contamination
- Incorrect alignment
- An incorrect fastener
- Cross-threading
- Thread galling
Continuing to apply force can damage both the bolt and the threaded component.
This is particularly important with aluminium components.
9. Understand Where Stainless Steel Replacement Bolts Should Not Be Used
In simple terms, do not replace a bolt that is required to be a high-strength or special-purpose fastener with an ordinary 304 stainless steel bolt unless the replacement has been specifically confirmed as suitable for that application.
A bolt can look the same, have the same thread and be the same length while having very different strength characteristics.
Some motorcycle manufacturers use high-strength steel fasteners, such as property classes 8.8, 10.9 or 12.9, or specially designed bolts in heavily loaded and safety-critical locations.
Examples can include certain:
- Brake disc or brake rotor mounting bolts
- Brake caliper-to-fork mounting bolts
- Wheel or axle fasteners
- Suspension mounting bolts
- Steering components
- Engine internal fasteners
- Other highly loaded or safety-critical fixings
This does not mean that every bolt used around brakes, wheels or suspension must never be stainless steel. The correct fastener depends on the specification for that exact motorcycle and mounting position.
The important rule is:
If the motorcycle manufacturer requires a particular high-strength, property-class or special-purpose fastener, do not substitute it with a standard 304 stainless steel bolt unless the replacement has been specifically verified as suitable.
304 stainless steel is an excellent material for many motorcycle fastener applications, particularly where corrosion resistance is desirable, but corrosion resistance does not automatically mean that a fastener has the mechanical strength required for every application.
If you cannot confirm the required fastener specification, leave the original specified fastener in place or seek advice from a suitably qualified motorcycle technician.
10. Carry Out a Final Check
After installation, check that:
- All components are correctly positioned
- Required washers, spacers and other fittings are present
- Fasteners have been tightened using the correct procedure
- Nothing has been trapped or distorted
- The component is correctly aligned
- Steering, controls, suspension or other moving parts operate correctly where applicable
Follow any inspection or rechecking procedure specified by the motorcycle manufacturer.
Having Trouble Removing the Original Bolt?
If the original fastener is seized, corroded, rounded or otherwise difficult to remove, avoid repeatedly applying more force without first assessing the problem.
See our guide to removing seized, stuck and rounded motorcycle bolts for more information.
More About Torque, Anti-Seize and Thread Galling
Correct installation involves more than simply tightening a bolt until it feels secure.
Lubricated threads, anti-seize compounds and other thread treatments can change the relationship between torque and fastener clamping force.
For detailed information, read our guide to fitting stainless steel motorcycle bolts and torque settings.
Find 304 Stainless Steel Bolt Kits for Your Motorcycle
Looking for replacement fasteners for your motorcycle?
Browse the Biker Bling range of 304 stainless steel motorcycle bolt kits to find available fasteners for your motorcycle make, model and year.
Our range includes model-specific fasteners and kits for applications including fairings, screens, engine covers, yokes, footrests and other motorcycle components.
Browse Biker Bling 304 stainless steel motorcycle bolt kits
Always check the individual product listing for exact fitment, year coverage and the hardware supplied.
Technical Information Disclaimer
The information on this page is provided as general guidance and is not intended to replace the motorcycle manufacturer’s workshop manual, component manufacturer’s instructions or advice from a suitably qualified motorcycle technician.
Motorcycles, fasteners, materials, previous repairs and installation conditions vary.
Biker Bling Limited cannot determine from this general guide whether a particular procedure, tool, thread treatment or replacement fastener is suitable for every motorcycle or application.
Always confirm the correct fastener specification, installation procedure, thread condition, tightening sequence and torque requirement for the particular motorcycle and component before carrying out work.
Where a manufacturer specifies a particular fastener type, strength class, locking method, thread treatment or installation procedure, follow those requirements.
If you are uncertain how to proceed, particularly with braking, steering, wheels, suspension or another safety-critical component, stop and obtain appropriate professional assistance.
Nothing on this page is intended to affect your statutory rights or to exclude or restrict any responsibility that cannot lawfully be excluded or restricted.