
How to Remove Seized, Stuck & Rounded Motorcycle Bolts
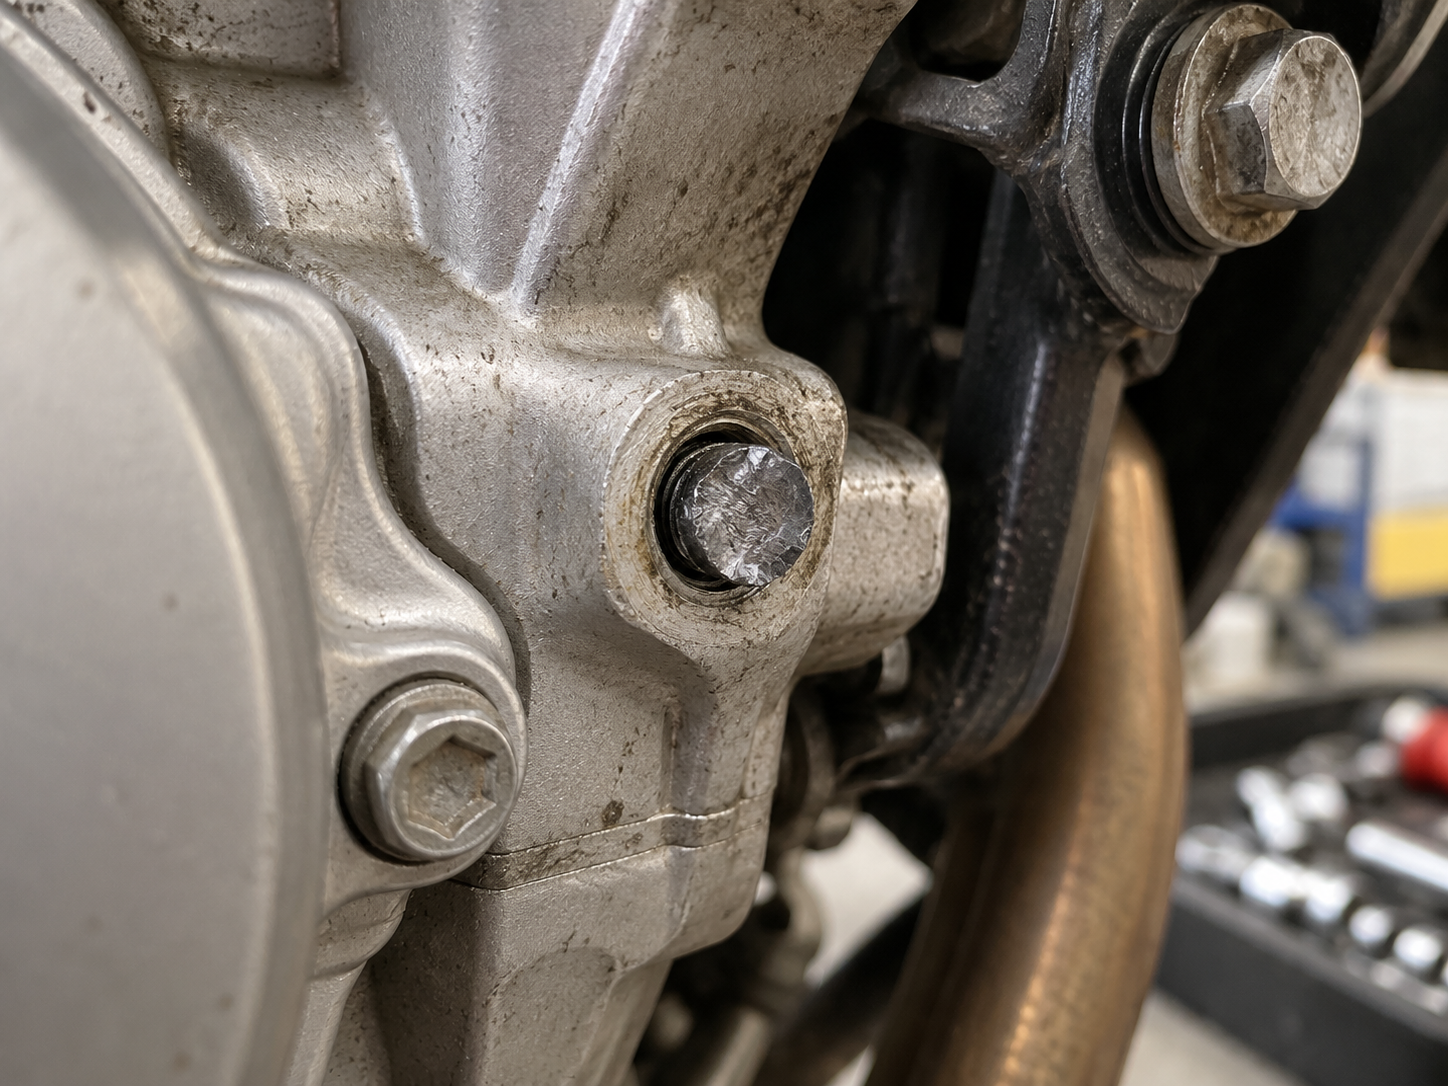
Seized, corroded and damaged motorcycle bolts can turn a straightforward maintenance job into a much more difficult repair.
Applying more force is not always the safest solution.
A difficult fastener can become rounded, snap inside the component or damage the female thread if the cause of the problem is not identified first.
This guide explains a cautious general approach to dealing with seized, stuck, corroded and rounded motorcycle bolts and, importantly, when it may be better to stop and seek professional assistance.
Knowing how to remove seized motorcycle bolts carefully can help reduce the risk of rounded heads, broken fasteners and damaged threads.
Important Safety Notice
This guide provides general information only.
Always check the motorcycle manufacturer’s workshop manual and any component-specific instructions before attempting to remove a difficult fastener.
Some fasteners are fitted with locking devices, threadlocking products or special removal requirements.
Particular care is required around fuel systems, brakes, steering, wheels, suspension, electrical components and other safety-critical areas.
If a fastener is severely seized, damaged, broken or located in an expensive or safety-critical component, and you are uncertain how to proceed, stop and seek assistance from a suitably qualified motorcycle technician.
How to Remove Seized Motorcycle Bolts Safely
Not every difficult bolt is seized for the same reason.
Possible causes include:
- Corrosion
- Dirt or contamination
- Damaged external bolt flats
- A rounded Allen or Torx recess
- Threadlocker
- Previous overtightening
- Cross-threading
- Damaged threads
- Thread galling
- Incorrect previous installation
Understanding the likely cause can help prevent unnecessary damage.
1. Clean the Fastener Before Applying More Force
Dirt, corrosion and debris can prevent a socket, Allen key or Torx bit from engaging fully with the fastener.
Clean the head or tool recess before attempting removal.
For internal-drive fasteners, make sure the recess is sufficiently clean for the tool to seat fully.
Poor tool engagement greatly increases the risk of rounding the fastener.
2. Use the Correct Tools to Remove Seized Motorcycle Bolts
Use a tool that accurately matches the fastener.
Do not substitute an approximate imperial size for a metric fastener, or vice versa.
Make sure the socket, bit or key is fully seated before applying force.
For conventional external hex fasteners, an accurately fitting six-point socket can provide good engagement with the flats of the bolt.
If the tool already feels loose, stop before damaging the fastener further.
3. Apply Controlled Force
Use controlled force and keep the tool aligned with the fastener as closely as possible.
Excessive sideways force can cause a tool to slip or damage the bolt head.
If the amount of force required is becoming excessive, stop and reassess the problem.
A seized but intact bolt is generally easier to deal with than one which has snapped inside an engine casing or other component.
4. How to Remove Seized Motorcycle Bolts Caused by Corrosion
If corrosion appears to be contributing to the problem, an appropriate penetrating product may sometimes help.
Follow the product manufacturer’s instructions.
Take care to avoid contaminating:
- Brake discs
- Brake pads
- Tyres
- Grips
- Controls
- Other surfaces where oil or penetrating products could create a hazard
A penetrating product will not correct damaged, cross-threaded or mechanically locked threads.
If the fastener remains excessively difficult to remove, reassess before applying greater force.
5. Check Whether Threadlocker May Be Present
Some motorcycle fasteners are installed with threadlocking compounds.
Check the workshop manual where applicable.
Different threadlocking products can have different removal requirements, and some high-strength products may require specialist procedures.
Do not assume that heat should automatically be applied.
Motorcycles can contain fuel, oils, seals, bearings, paint, plastics, electrical wiring and other materials that may be damaged or create a hazard if heated incorrectly.
If the required removal procedure involves heat and you cannot confirm that it can be applied safely to the particular component and surrounding area, seek professional assistance.
6. Rounded Motorcycle Bolts: Stop Before Making the Damage Worse
If a socket, spanner, Allen key or Torx bit begins slipping, stop.
Repeated attempts with the same poorly fitting tool will normally remove more material from the fastener and make extraction more difficult.
Specialist damaged-fastener and extractor tools are available for some situations.
Follow the tool manufacturer’s instructions and assess whether the surrounding motorcycle component could be damaged during their use.
A badly damaged fastener should not normally be considered suitable for reuse.
7. Damaged Allen and Torx Fasteners
Internal-drive fasteners can become rounded when:
- The wrong tool size has been used
- The tool was not fully inserted
- Dirt prevented full engagement
- The recess was already damaged
- Excessive force was applied at an angle
Clean the recess and inspect the remaining usable engagement.
If the recess is already badly damaged, repeatedly using a standard Allen or Torx tool may make the situation worse.
Specialist removal tools or professional extraction may be more appropriate.
8. When a Seized Motorcycle Bolt Starts to Move but Tightens Again
A fastener that begins to unscrew but then becomes significantly harder to turn should not automatically be forced further.
Possible causes include:
- Corroded exposed threads
- Damaged threads
- Contamination
- Cross-threading
- Thread galling
Continuing to force the fastener can damage the female thread in the motorcycle component.
This is particularly important where the fastener is threaded into aluminium.
9. Broken Fasteners
Once a bolt has snapped, the job changes from ordinary bolt removal to broken-fastener extraction.
The appropriate method depends on factors including:
- Whether any part of the bolt remains exposed
- The bolt diameter
- The surrounding material
- How deeply the bolt has broken
- Whether the remaining thread is seized
- Access to the damaged area
Incorrect drilling or extraction can damage the original thread or surrounding component.
For that reason, this general guide does not provide a universal drilling or broken-bolt extraction procedure.
If you are not experienced in removing broken fasteners, particularly from aluminium engine casings or other expensive components, professional removal may be the safer option.
10. Take Extra Care With Aluminium Components
Many motorcycle components contain threaded aluminium.
Examples can include:
- Engine casings
- Covers
- Brackets
- Yokes
- Carburettor or throttle-body components
- Some suspension and chassis components
Damaging an aluminium female thread can turn a simple bolt replacement into a thread-repair job.
If a fastener in an aluminium component is badly seized, rounded or beginning to fail, consider stopping before the surrounding component is damaged.
11. Safety-Critical Fasteners Require Particular Care
Extra care is required with fasteners associated with:
- Brakes
- Wheels and axles
- Steering
- Yokes or triple clamps
- Suspension
- Other safety-critical motorcycle components
Do not improvise a repair or install an unsuitable replacement simply because the damaged fastener has been removed.
Check the motorcycle manufacturer’s specification before fitting the replacement.
Where a high-strength or special-purpose fastener is specified, do not substitute it with an ordinary 304 stainless steel bolt unless the replacement has been specifically confirmed as suitable for that application.
After the Old Bolt Has Been Removed
Before installing a new fastener, inspect the female thread carefully.
Look for:
- Thread damage
- Corrosion
- Old threadlocker
- Dirt and debris
- Metal fragments
- Cross-threading
- Evidence of previous repairs
A replacement bolt should not be used to force its way through a damaged thread.
Where thread damage is suspected, appropriate repair or professional assessment may be required before installation.
Fitting the Replacement Bolt
Once the original fastener has been removed and the mounting point has been checked, follow our guide to fitting stainless steel motorcycle bolts before installing the replacement.
The fitting guide covers thread inspection, starting the new bolt correctly, washers and spacers, tightening procedures, suitability of stainless steel replacement fasteners and final checks.
For more detailed information about lubricated threads, anti-seize compounds, tightening torque and stainless steel thread galling, also see our guide to stainless steel motorcycle bolt torque, anti-seize and thread galling.
Technical Information Disclaimer
The information on this page is provided as general guidance and is not intended to replace the motorcycle manufacturer’s workshop manual, component manufacturer’s instructions or advice from a suitably qualified motorcycle technician.
The condition of a seized or damaged fastener cannot be fully assessed from general written guidance. Previous repairs, corrosion, thread damage, material condition and component design can all affect the appropriate removal method.
Biker Bling Limited cannot determine from this general guide whether a particular removal method, tool, chemical product or procedure is suitable for every motorcycle or situation.
If a fastener is severely seized, damaged, broken, fitted to an expensive component or associated with braking, steering, wheels, suspension or another safety-critical system, and you are uncertain how to proceed, stop and obtain appropriate professional assistance.
Nothing on this page is intended to affect your statutory rights or to exclude or restrict any responsibility that cannot lawfully be excluded or restricted.